
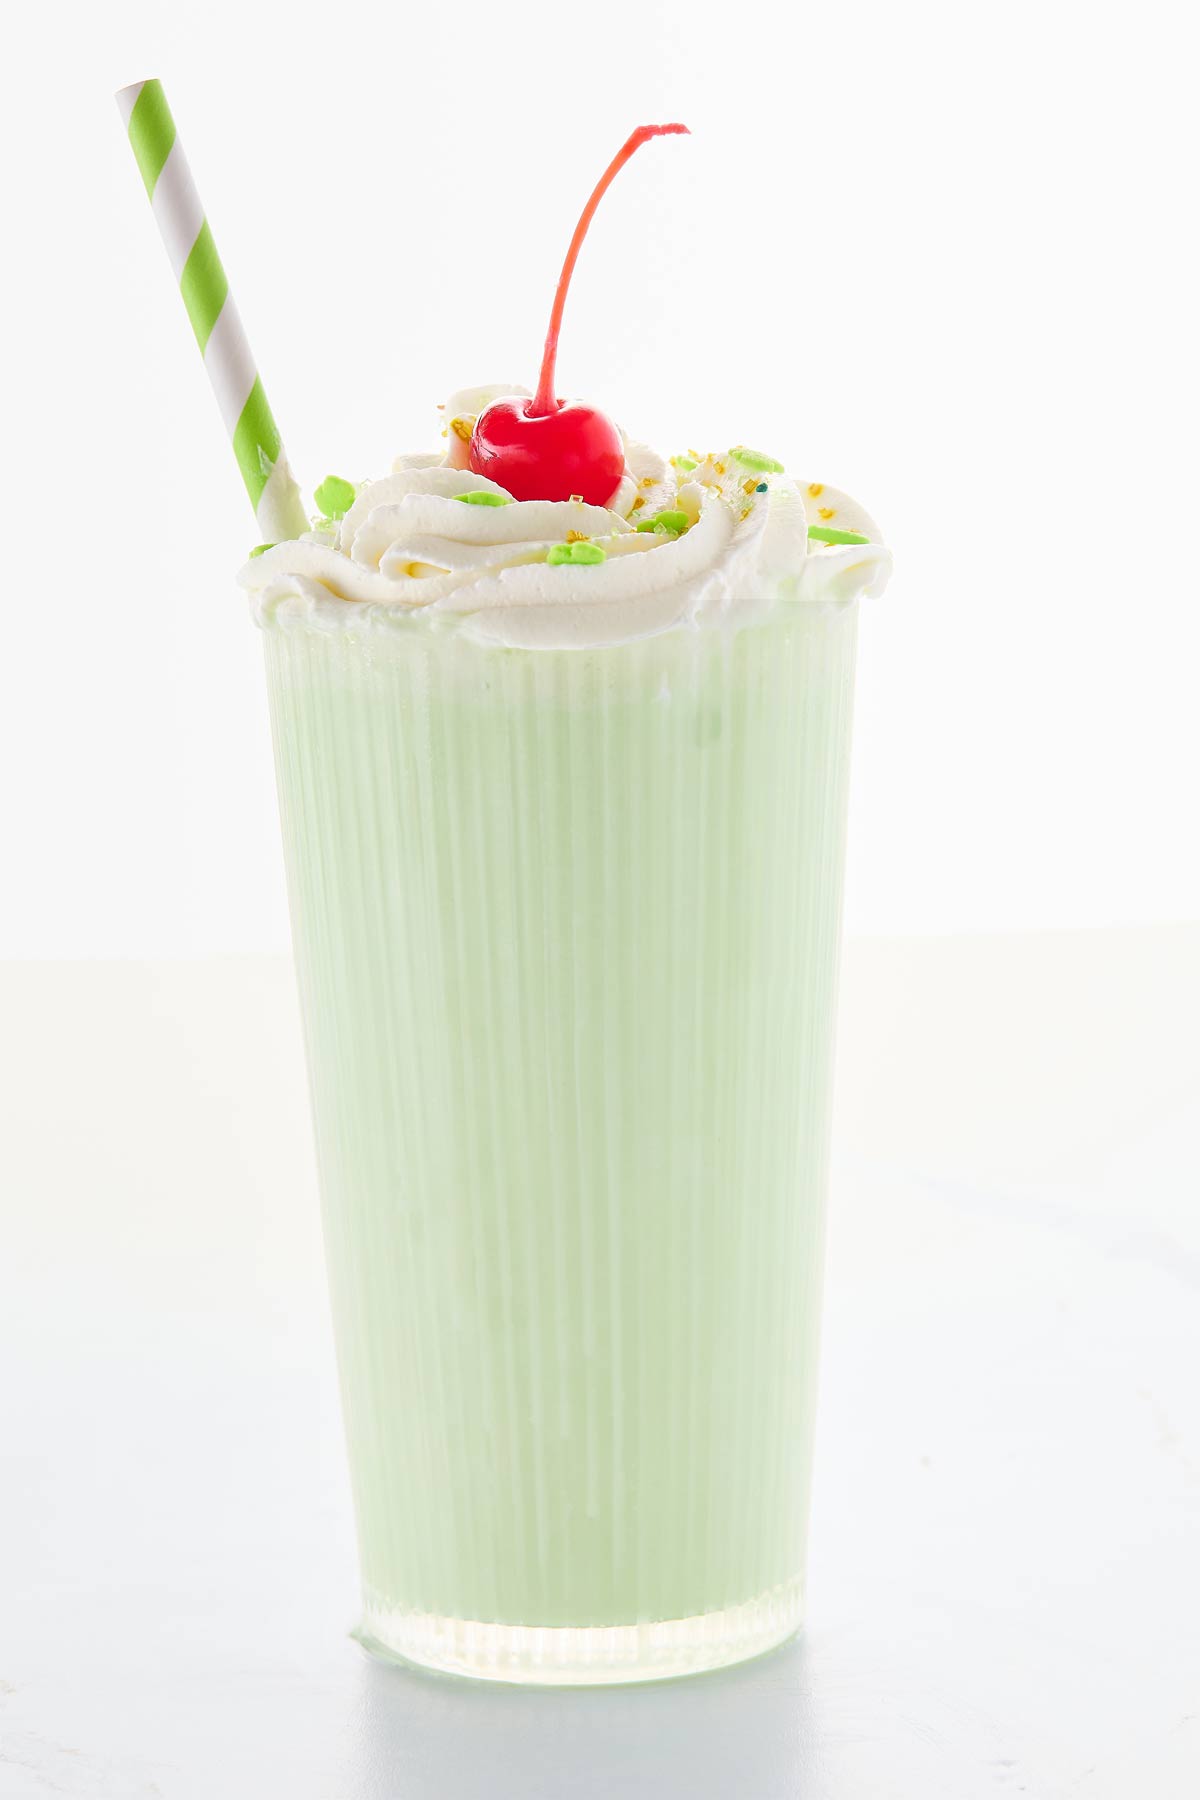
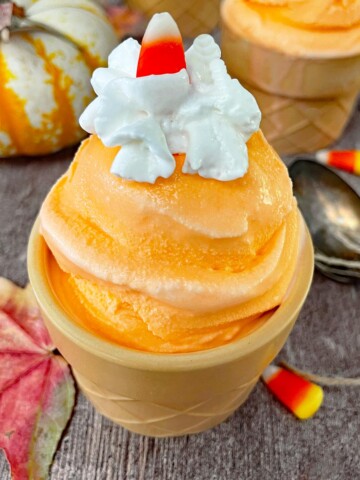
Don't you love it when you and your plus-one drive to Mc'Donald's to get Shamrock shakes? Cool, creamy, and just the right amount of minty-it's the ultimate St. Paddy's Day treat. But why wait for McDonald's to bring it back when you can make your own anytime? This homemade version is ridiculously easy, with just a few simple ingredients and a blender. Same thick, sweet, nostalgic goodness-minus the drive-thru. Grab your blender and get sipping!

Jump to:
Mary's Two Cents
Making a Shamrock Shake at home is cheaper than grabbing one from McDonald's-especially if you're making them for multiple people. Here's why:
- Basic Ingredients - Vanilla ice cream, milk, mint extract, and green food coloring are all super affordable and can be used for multiple shakes.
- More Bang for Your Buck - A single Shamrock Shake at McDonald's costs around $4-$5, but with one tub of ice cream and a little milk, you can make several for the same price.
- No Drive-Thru Temptation - Let's be real, avoiding the fast-food trap saves you money on other impulse buys (looking at you, French fries)
If you've got the basics on hand, making a homemade version is cheaper, plus you control the ingredients. This recipe falls into our FRUGAL category.
Ingredients

Ingredient Notes
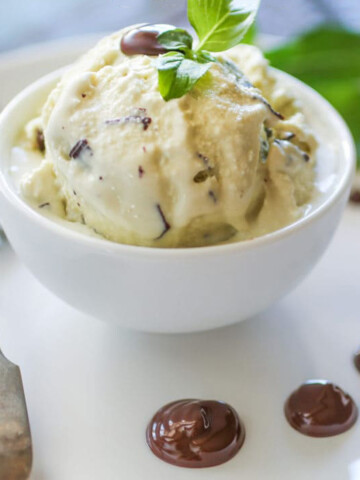
- Ice Cream - You need vanilla ice cream but you can also use French vanilla, vanilla bean, or any other vanilla ice cream. If you really want a decadent treat, skip the vanilla and use chocolate chip ice cream.
- Milk - Use any milk you choose to use. I have only used real dairy whole milk, but milk substitutes should work as well. If you try this, please leave a comment for other readers. Thanks!
- Mint Extract - Use Pure Mint extract, not peppermint, spearmint, or wintergreen, otherwise you'll be tasting candy canes, chewing gum, or toothpaste.
Optional Ingredients
- Fresh Mint - makes a really pretty garnish on the whipped cream. There are reports of people actually using real fresh mint in place of the mint extract and green food coloring. I have not tried this but leave a comment if you do!
- Maraschino Cherries - not necessary, but so appreciated!
- Sprinkles - Again not necessary, but who doesn't love sprinkles?
(SEE RECIPE CARD FOR EXACT AMOUNTS)
Instructions for Shamrock Shakes
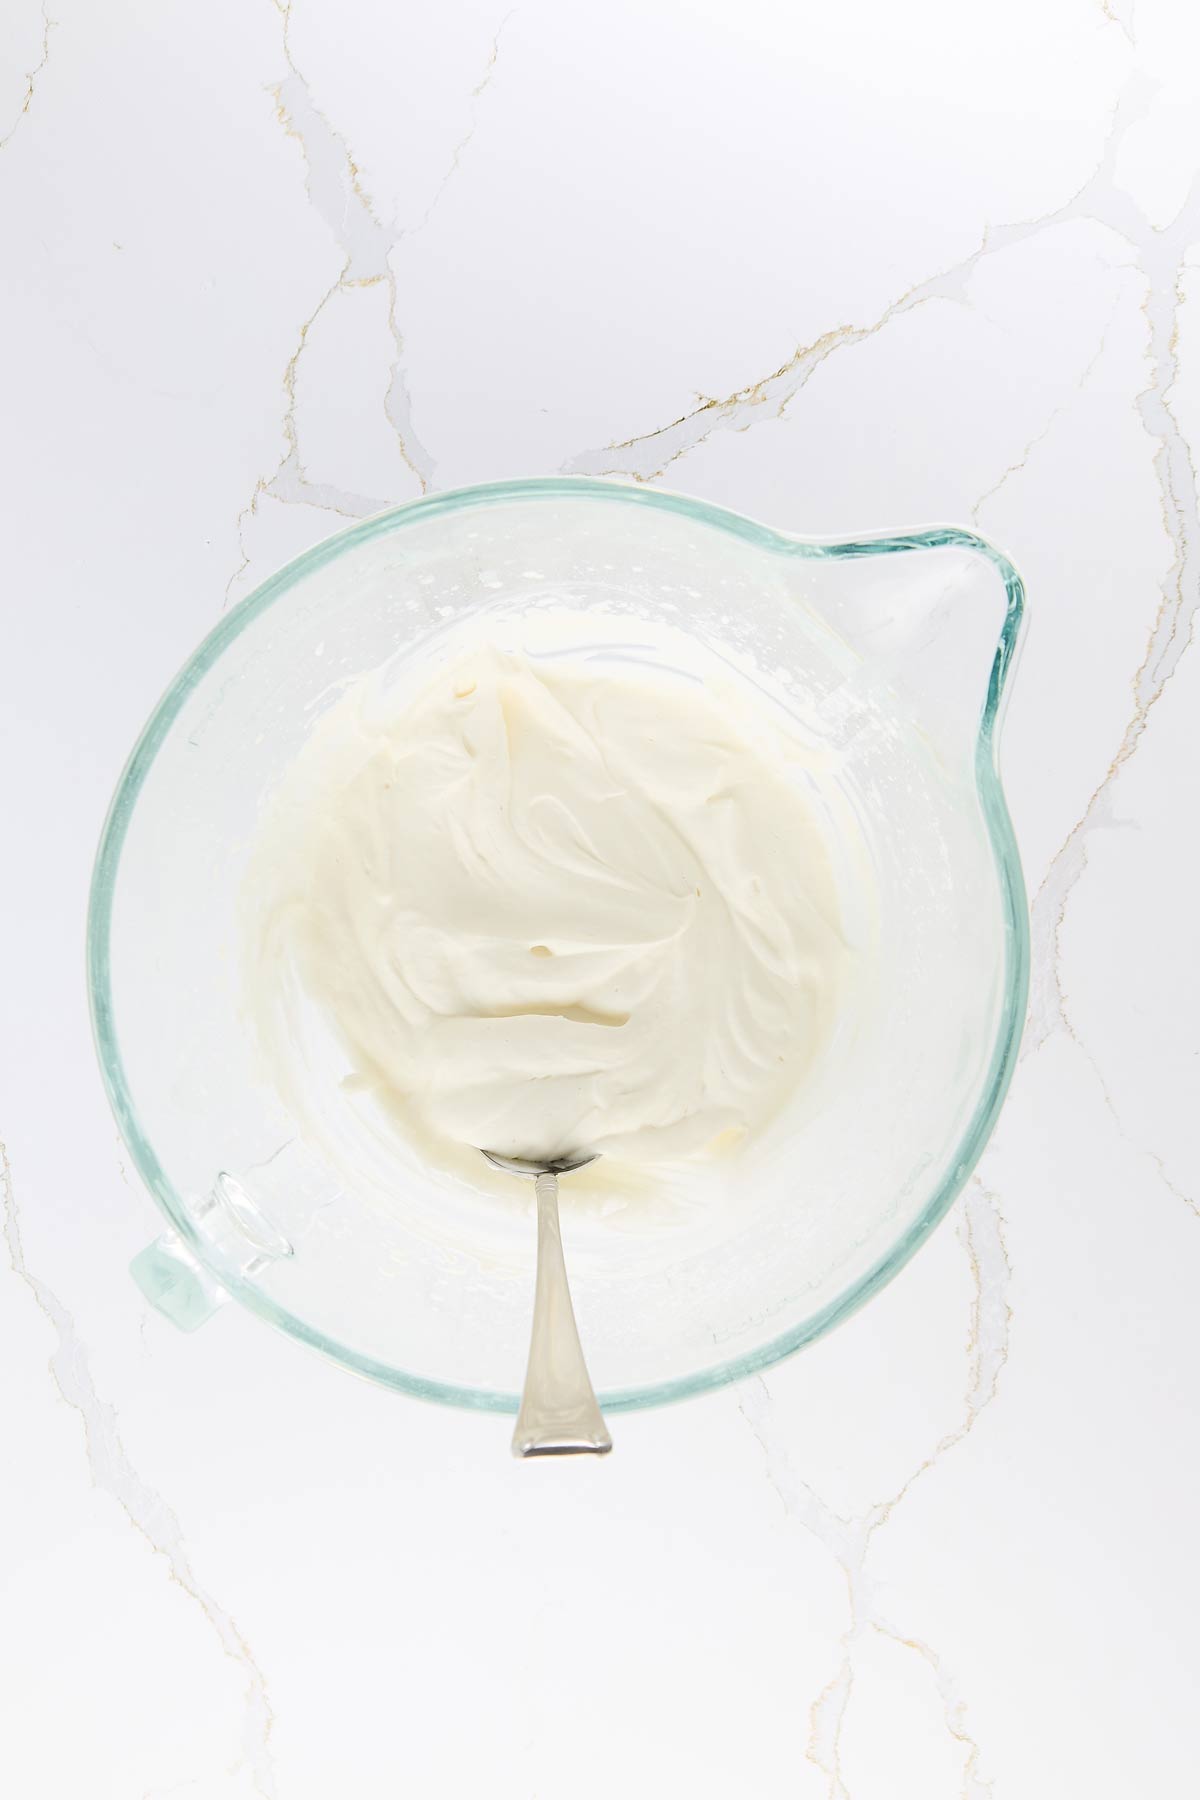
- Pour ½ cup heavy whipping cream into the chilled bowl of a stand mixer. Beat until soft peaks form. Add ½ teaspoon vanilla extract and 2 tablespoons powdered sugar. Beat until combined.
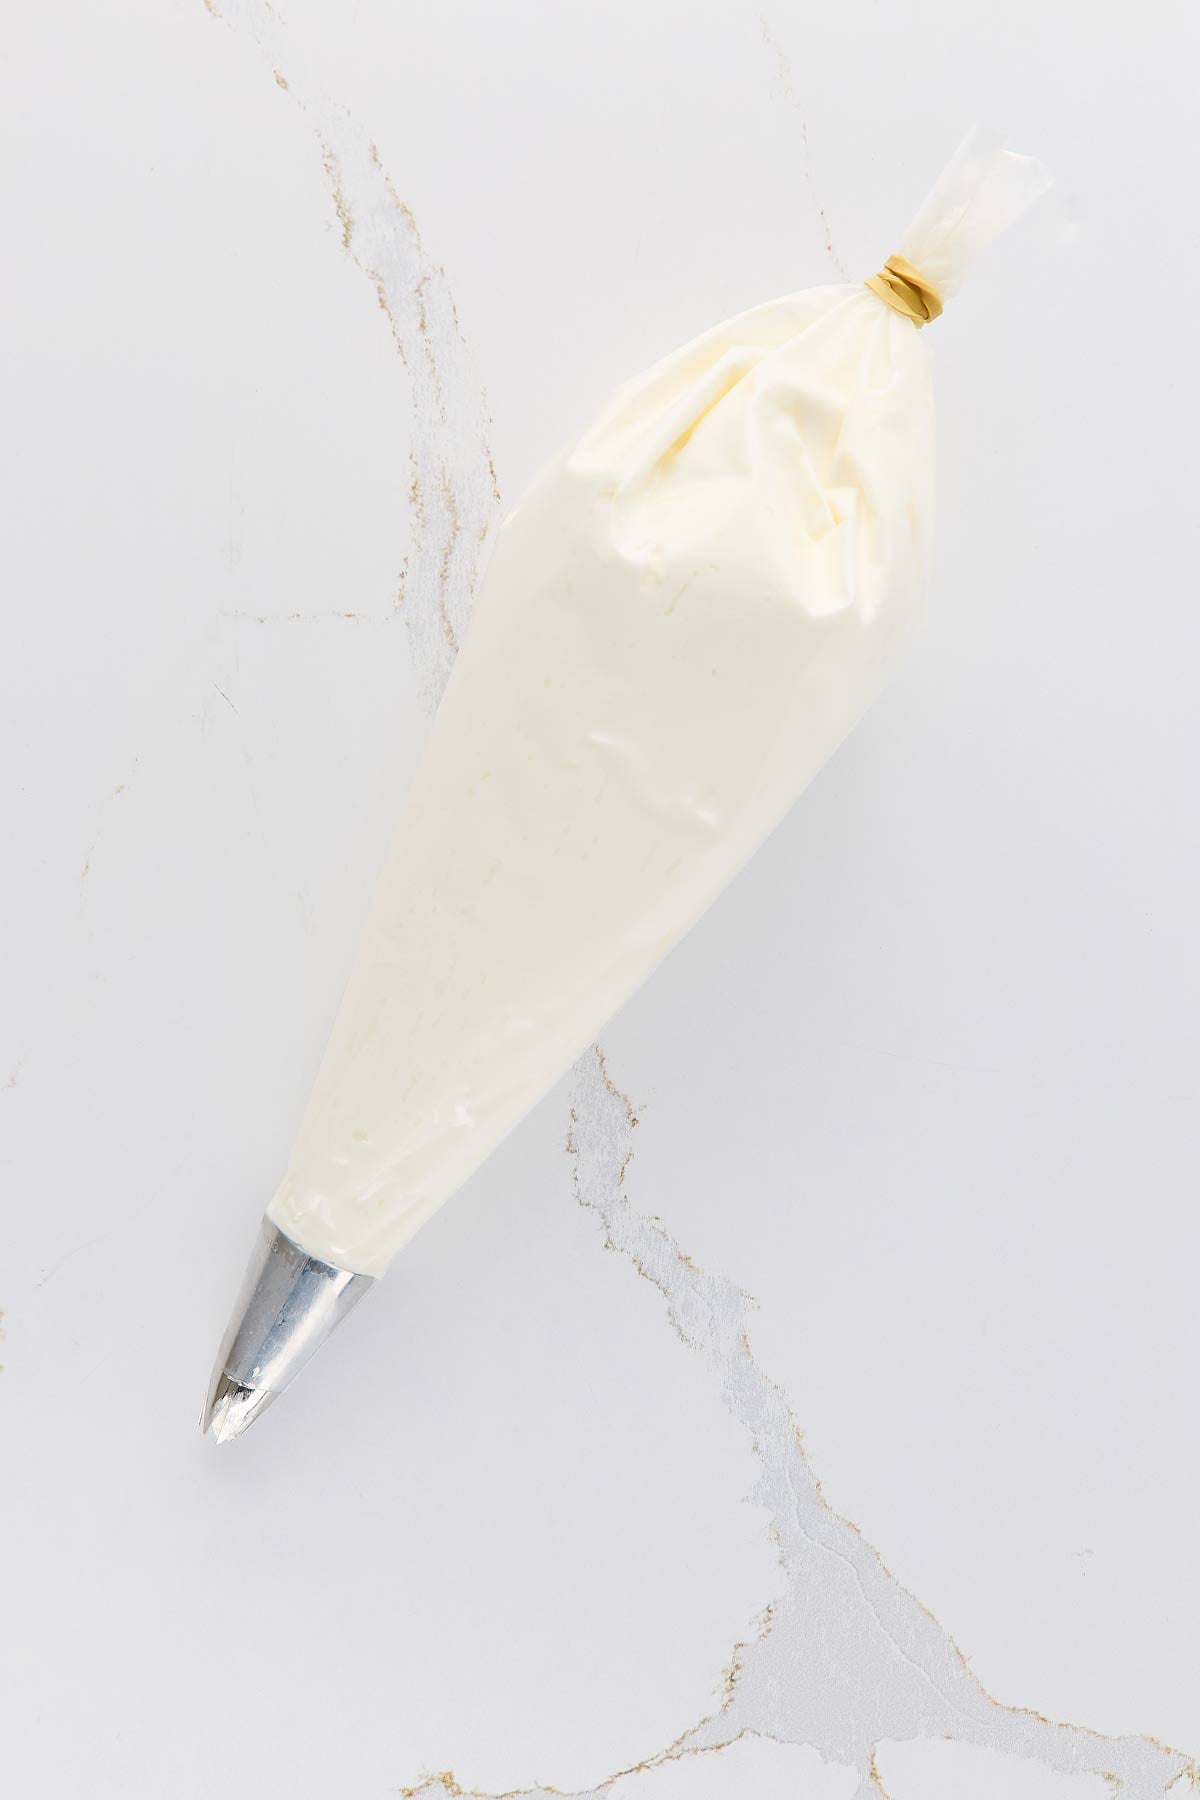
- Place the whipped cream into a piping bag with a star tip attached or cut ½" off the bottom of the piping bag. You can use a zip top bag and just cut off one corner. Keep refrigerated until ready to use.
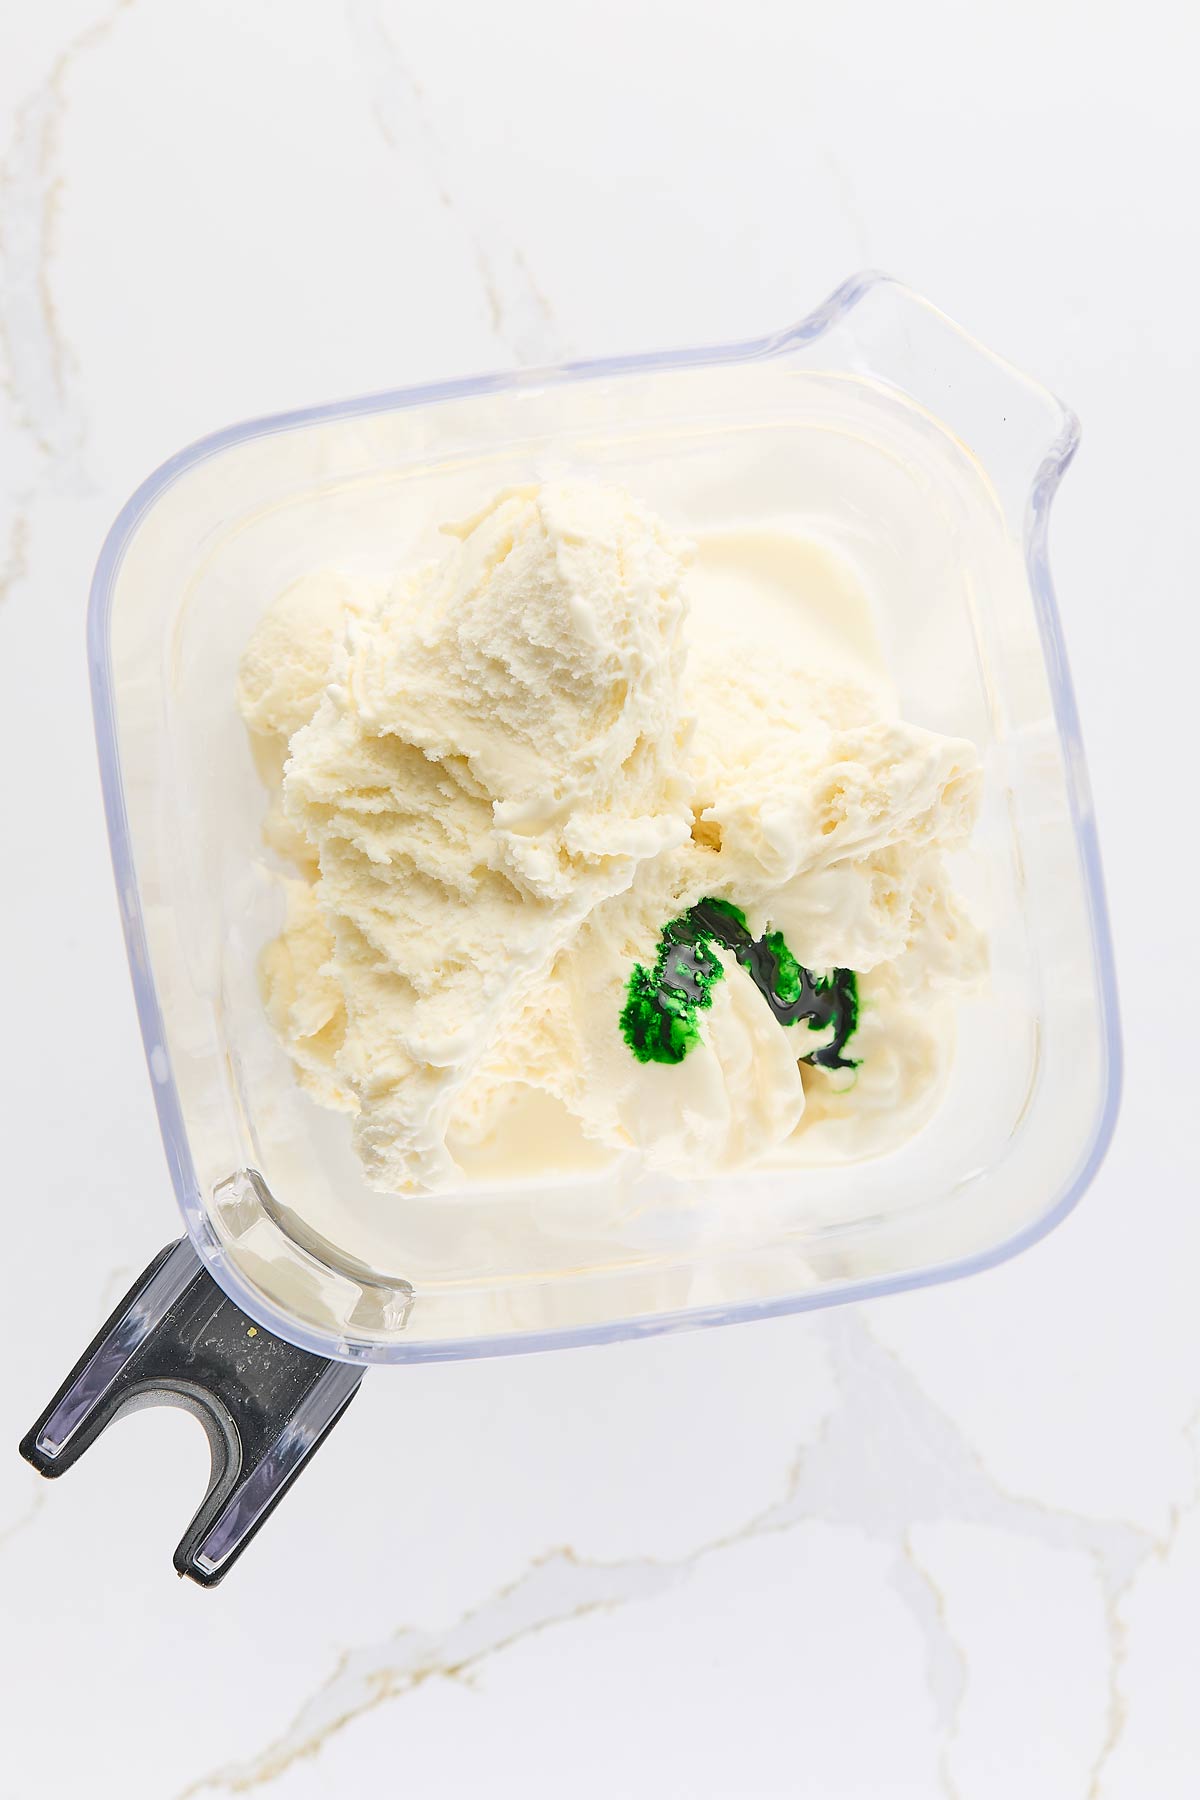
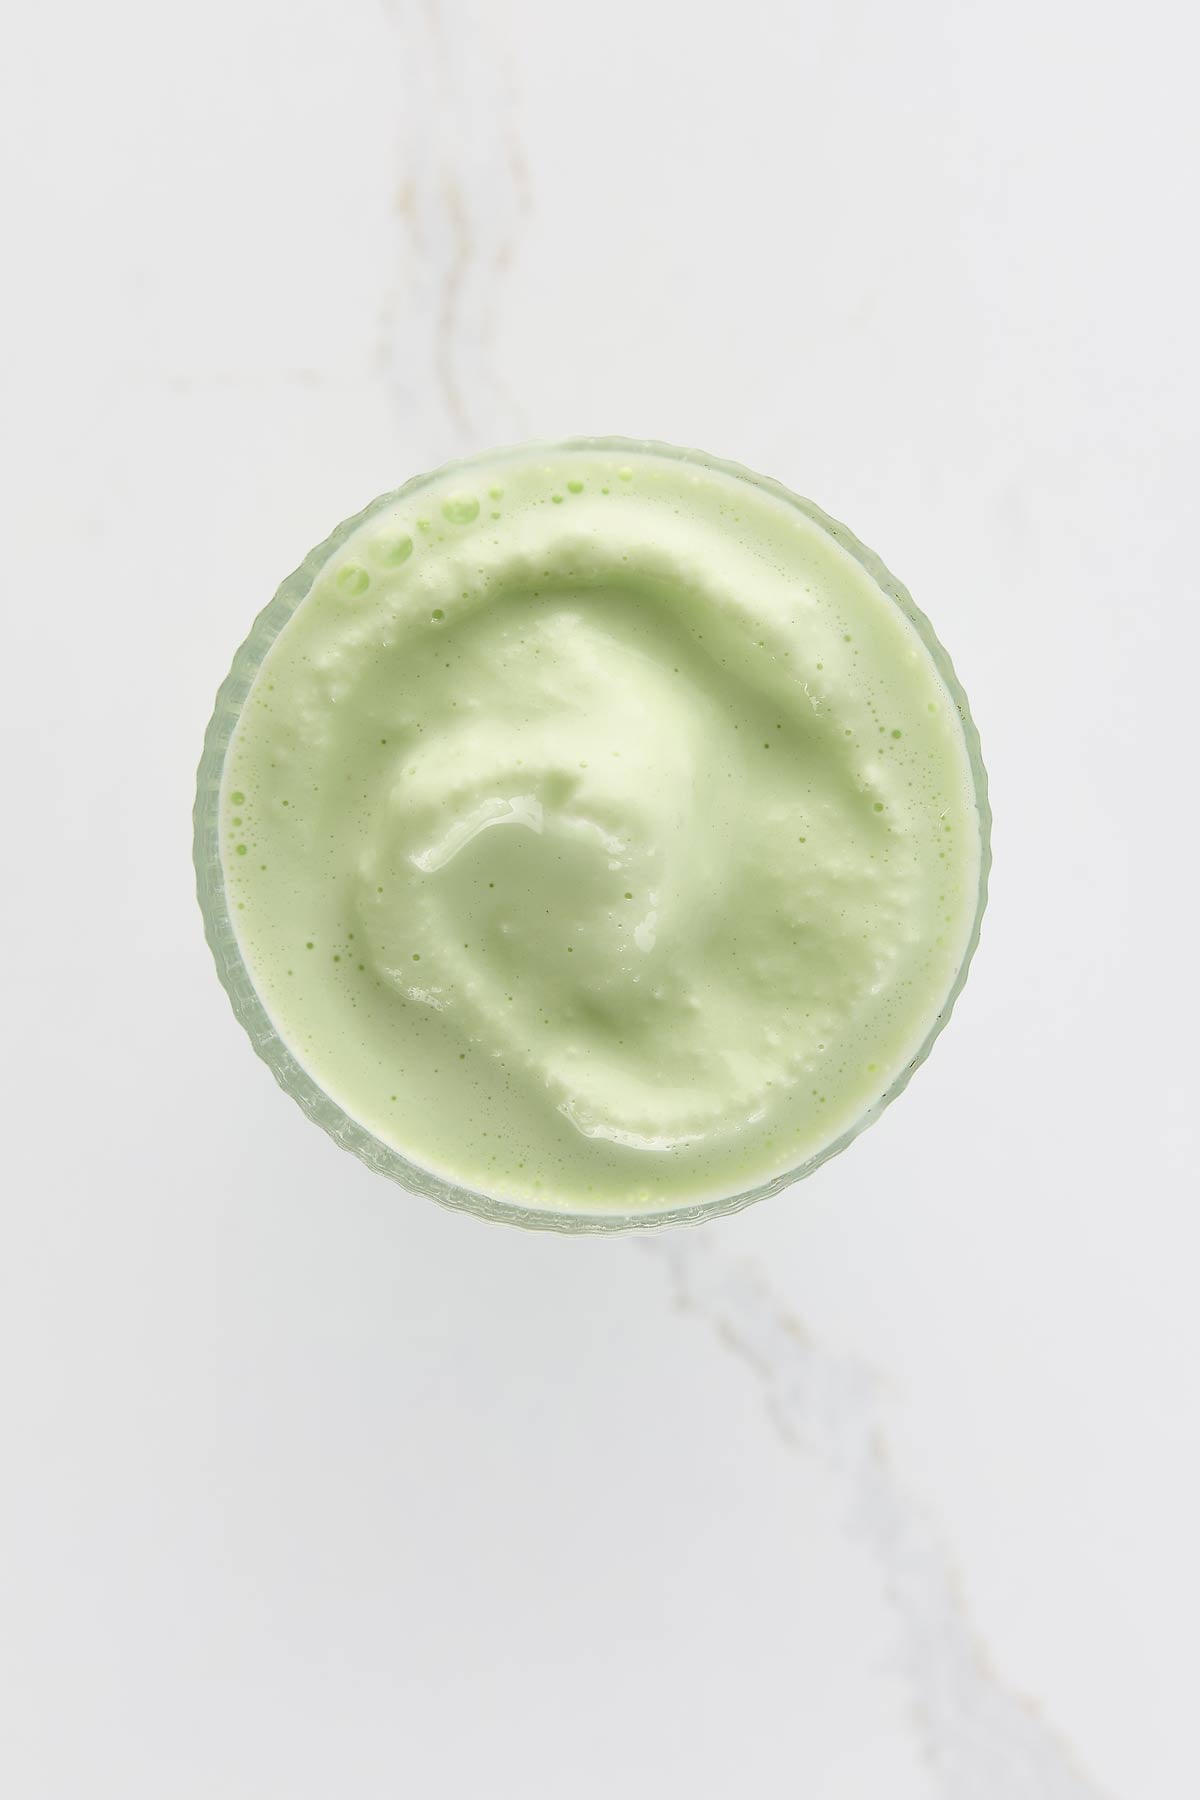
- Add the ice cream, milk, mint extract, and green food coloring to large, high-power blender.
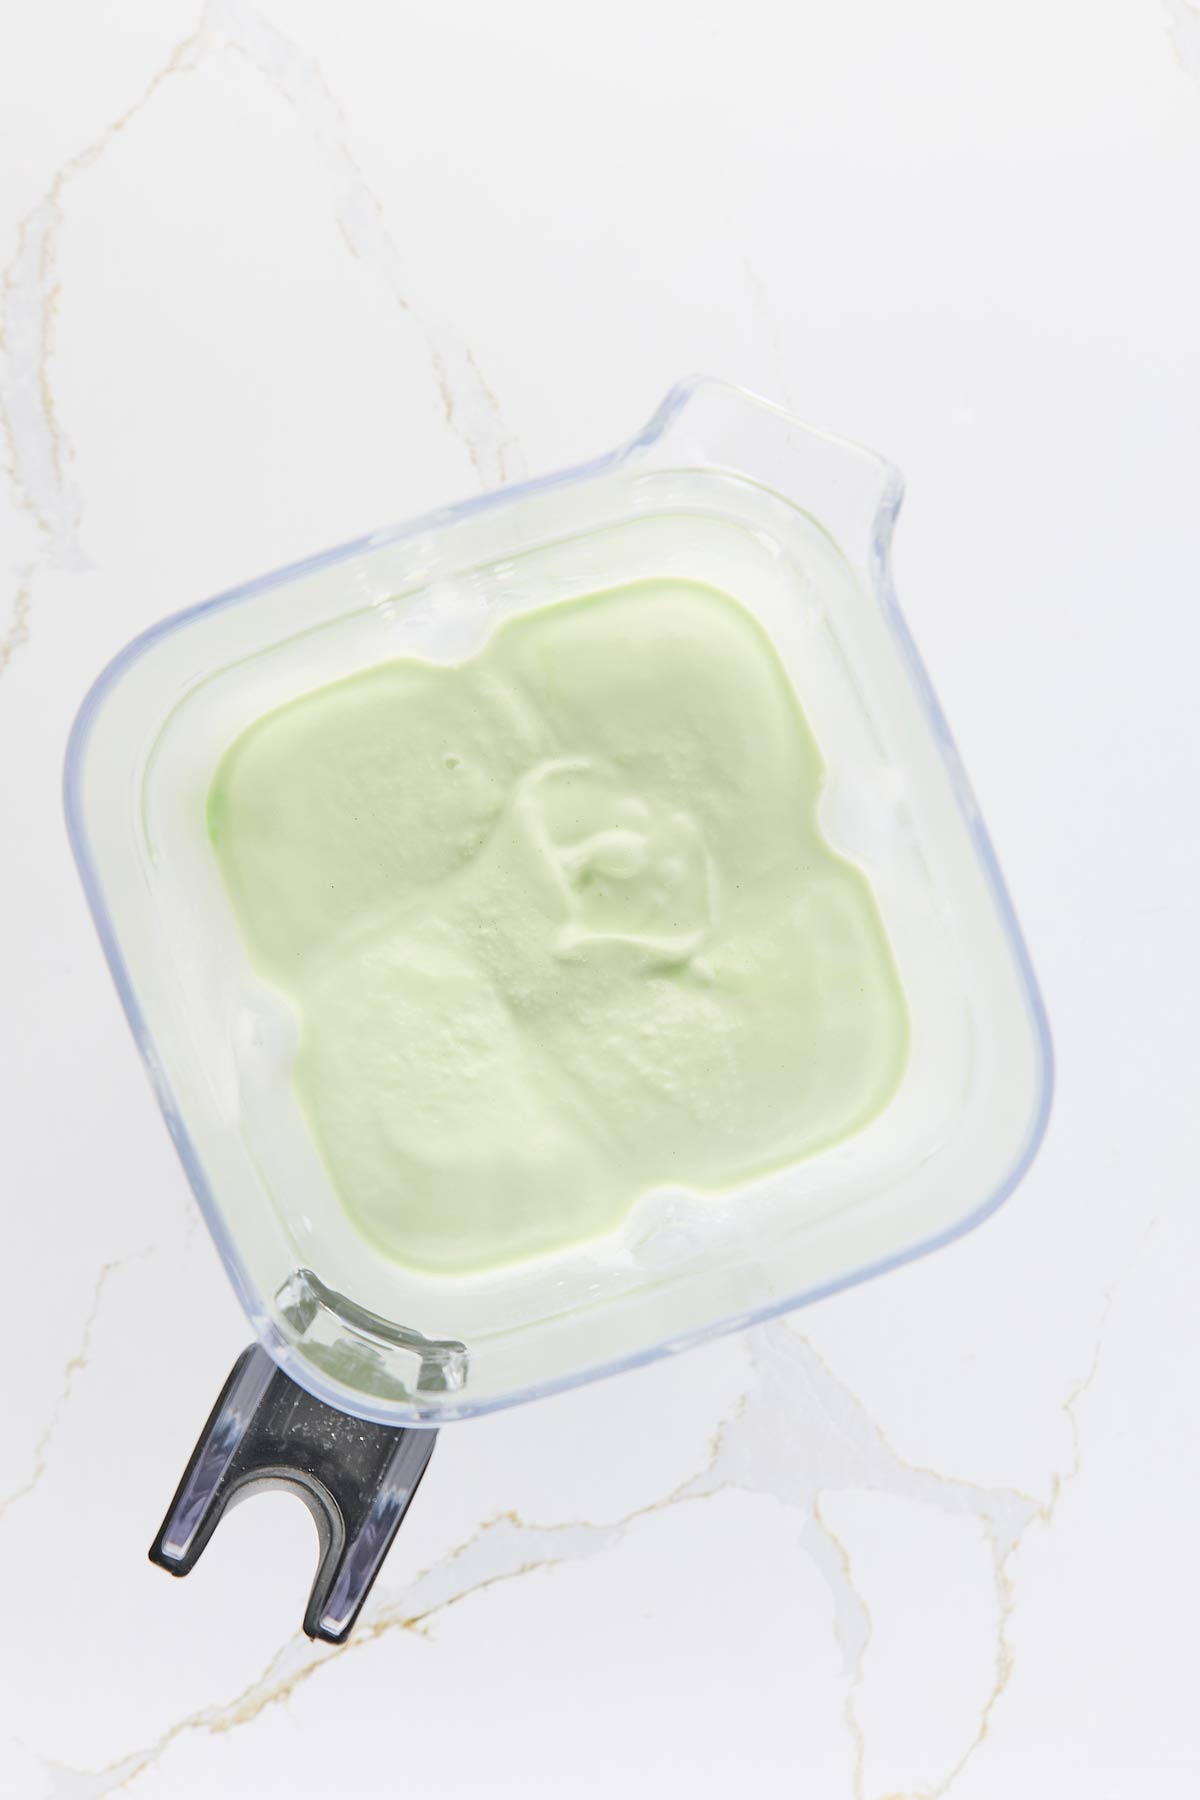
- Blend until the ice cream/milk mixture is smooth and the thickness is to your liking.
- Pour into glasses, preferably ice cold glasses. Leave a little room for whipped cream.
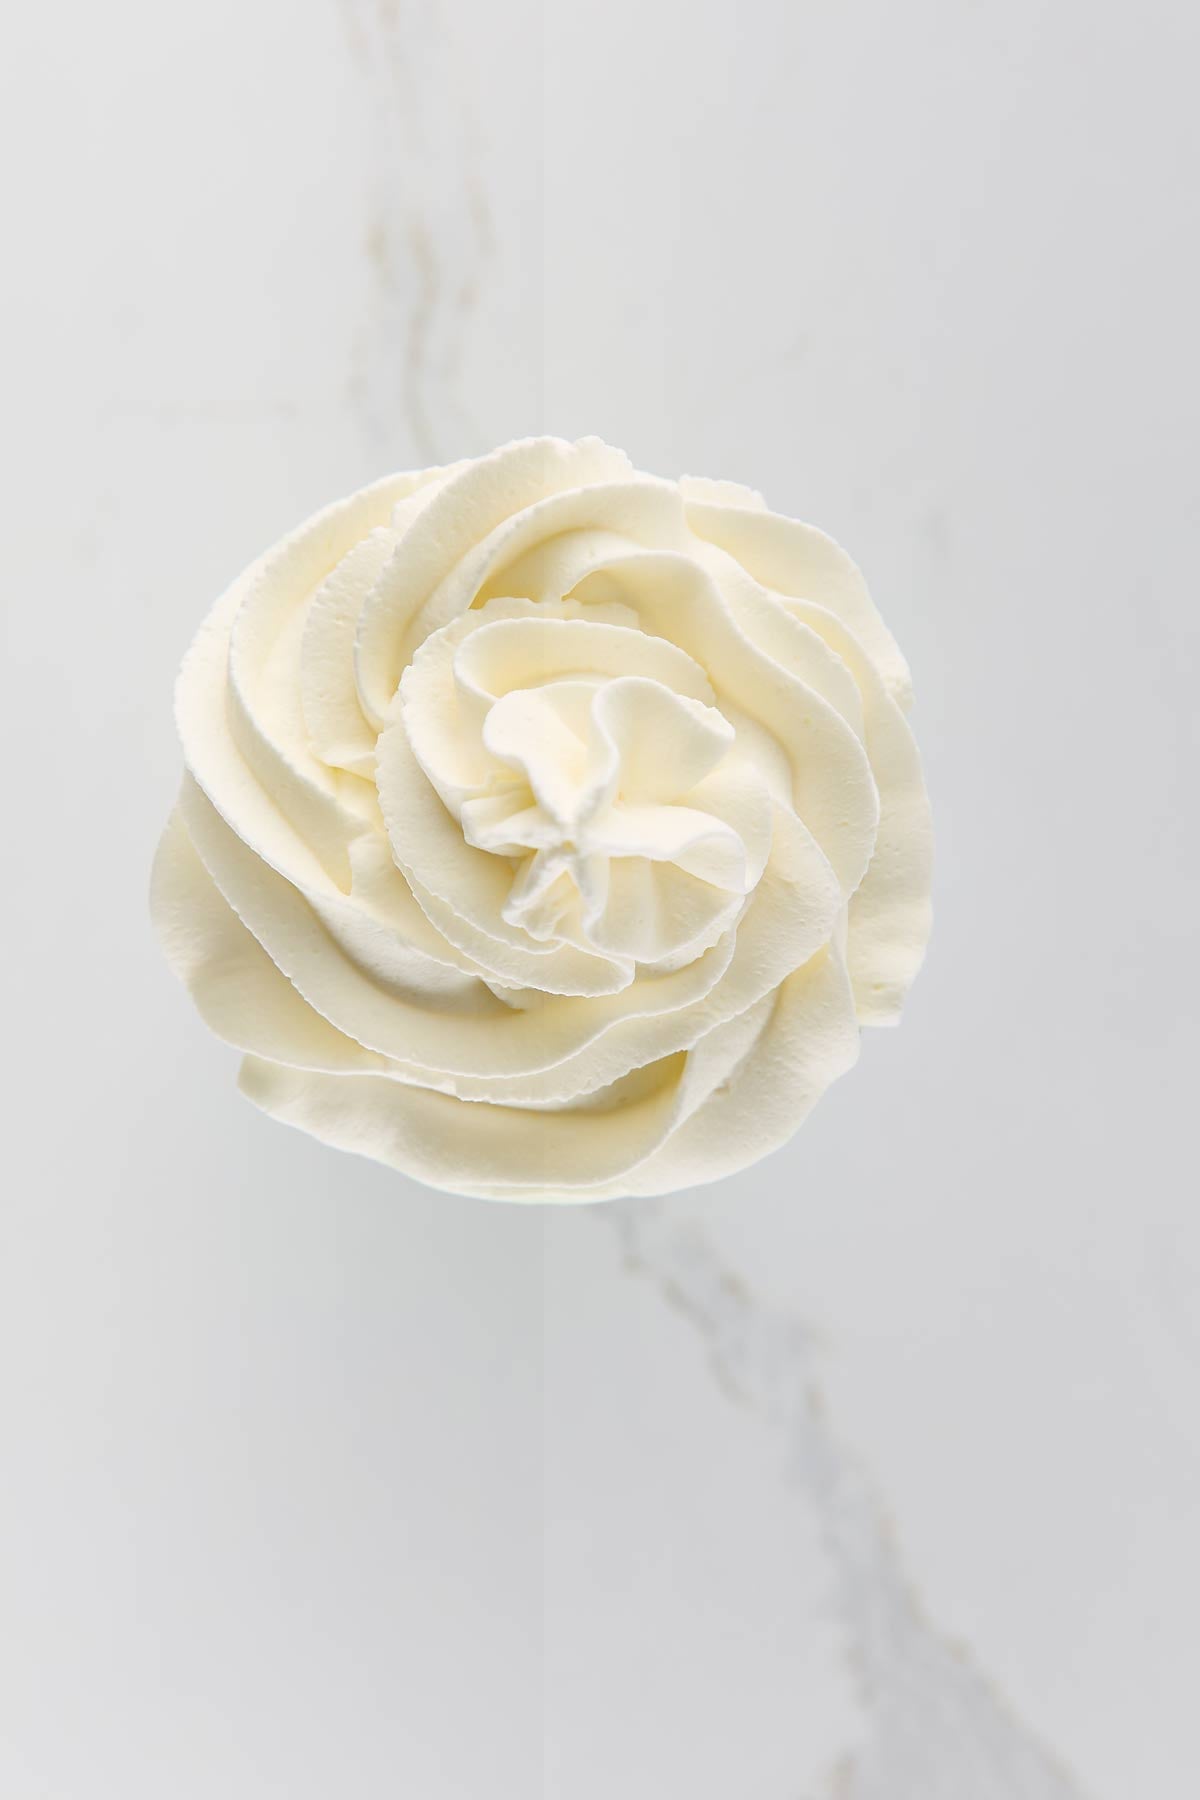
- Pipe on a nice mound of homemade whipped cream or whipped cream from a store-bought aerosol can.
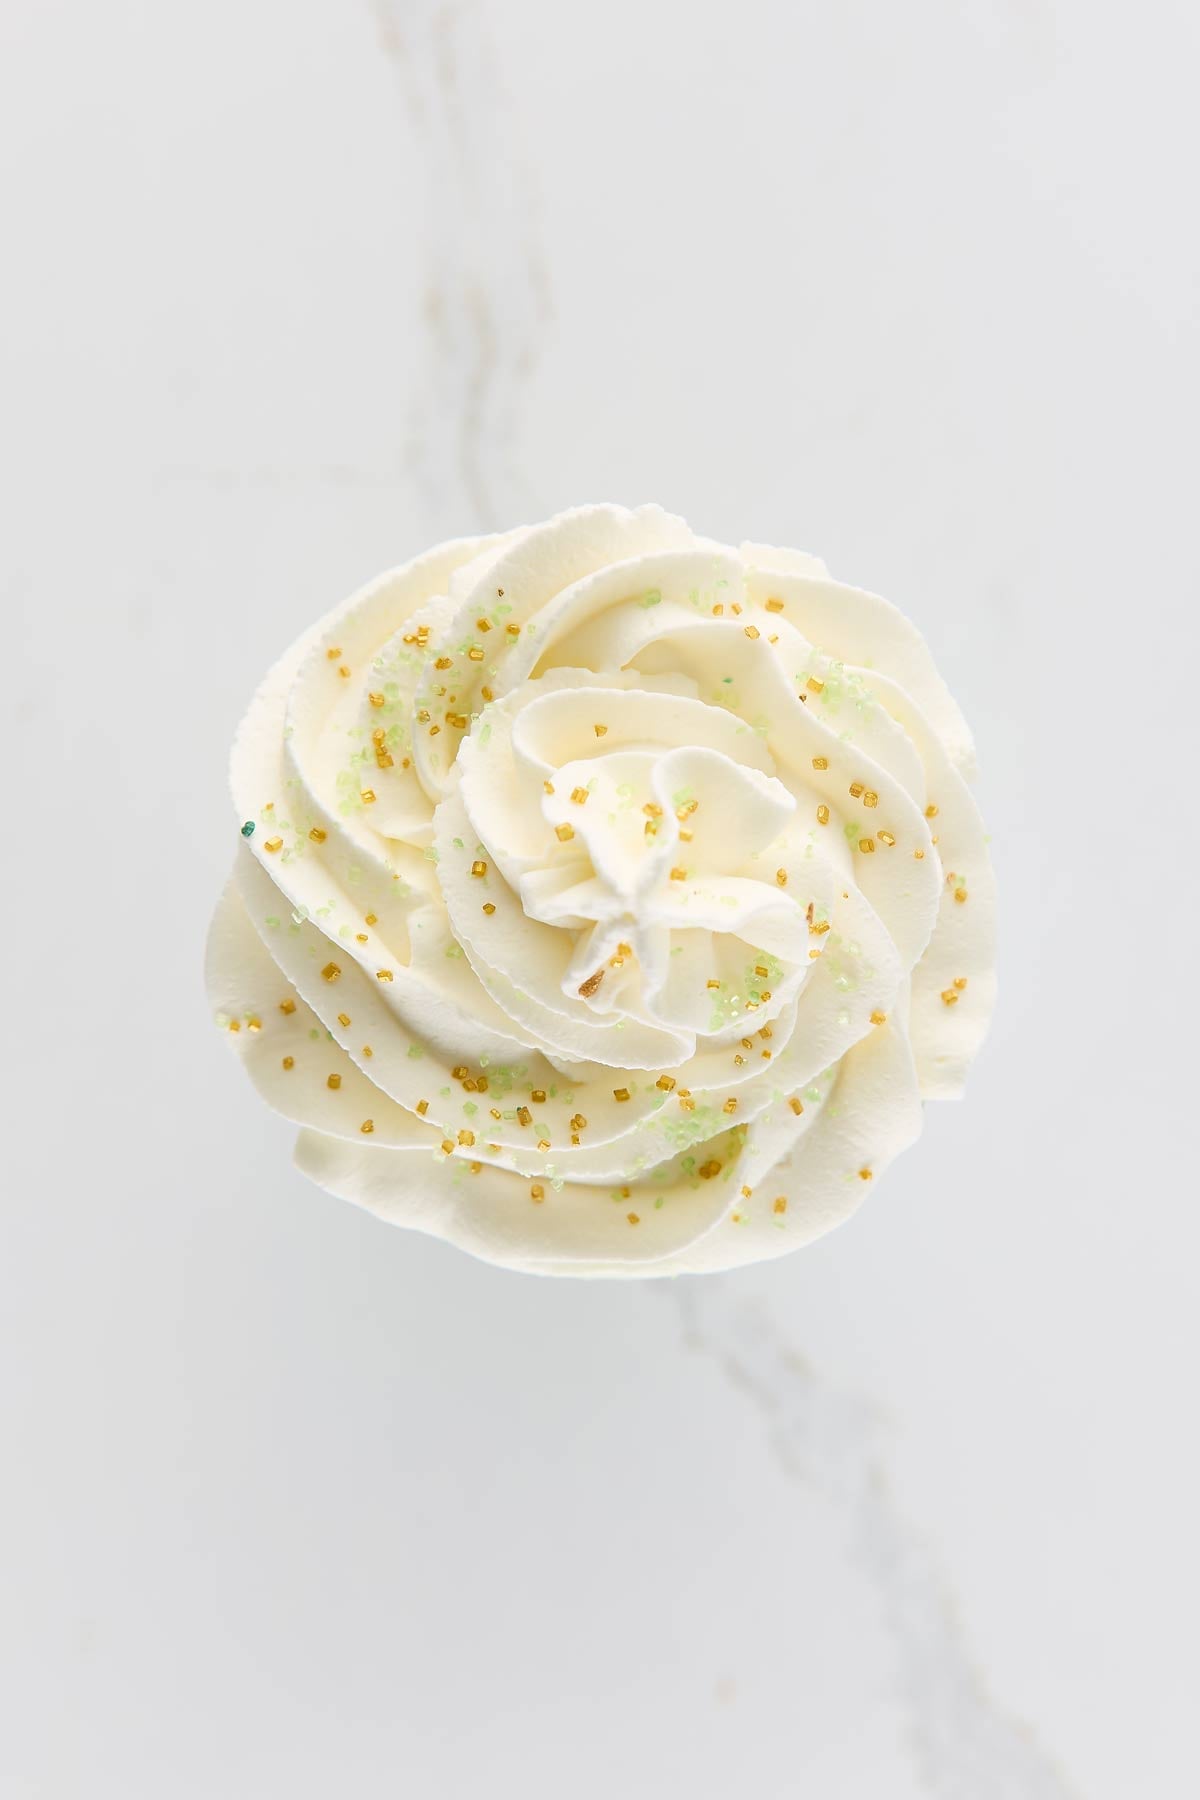
- Sprinkle on edible glitter.
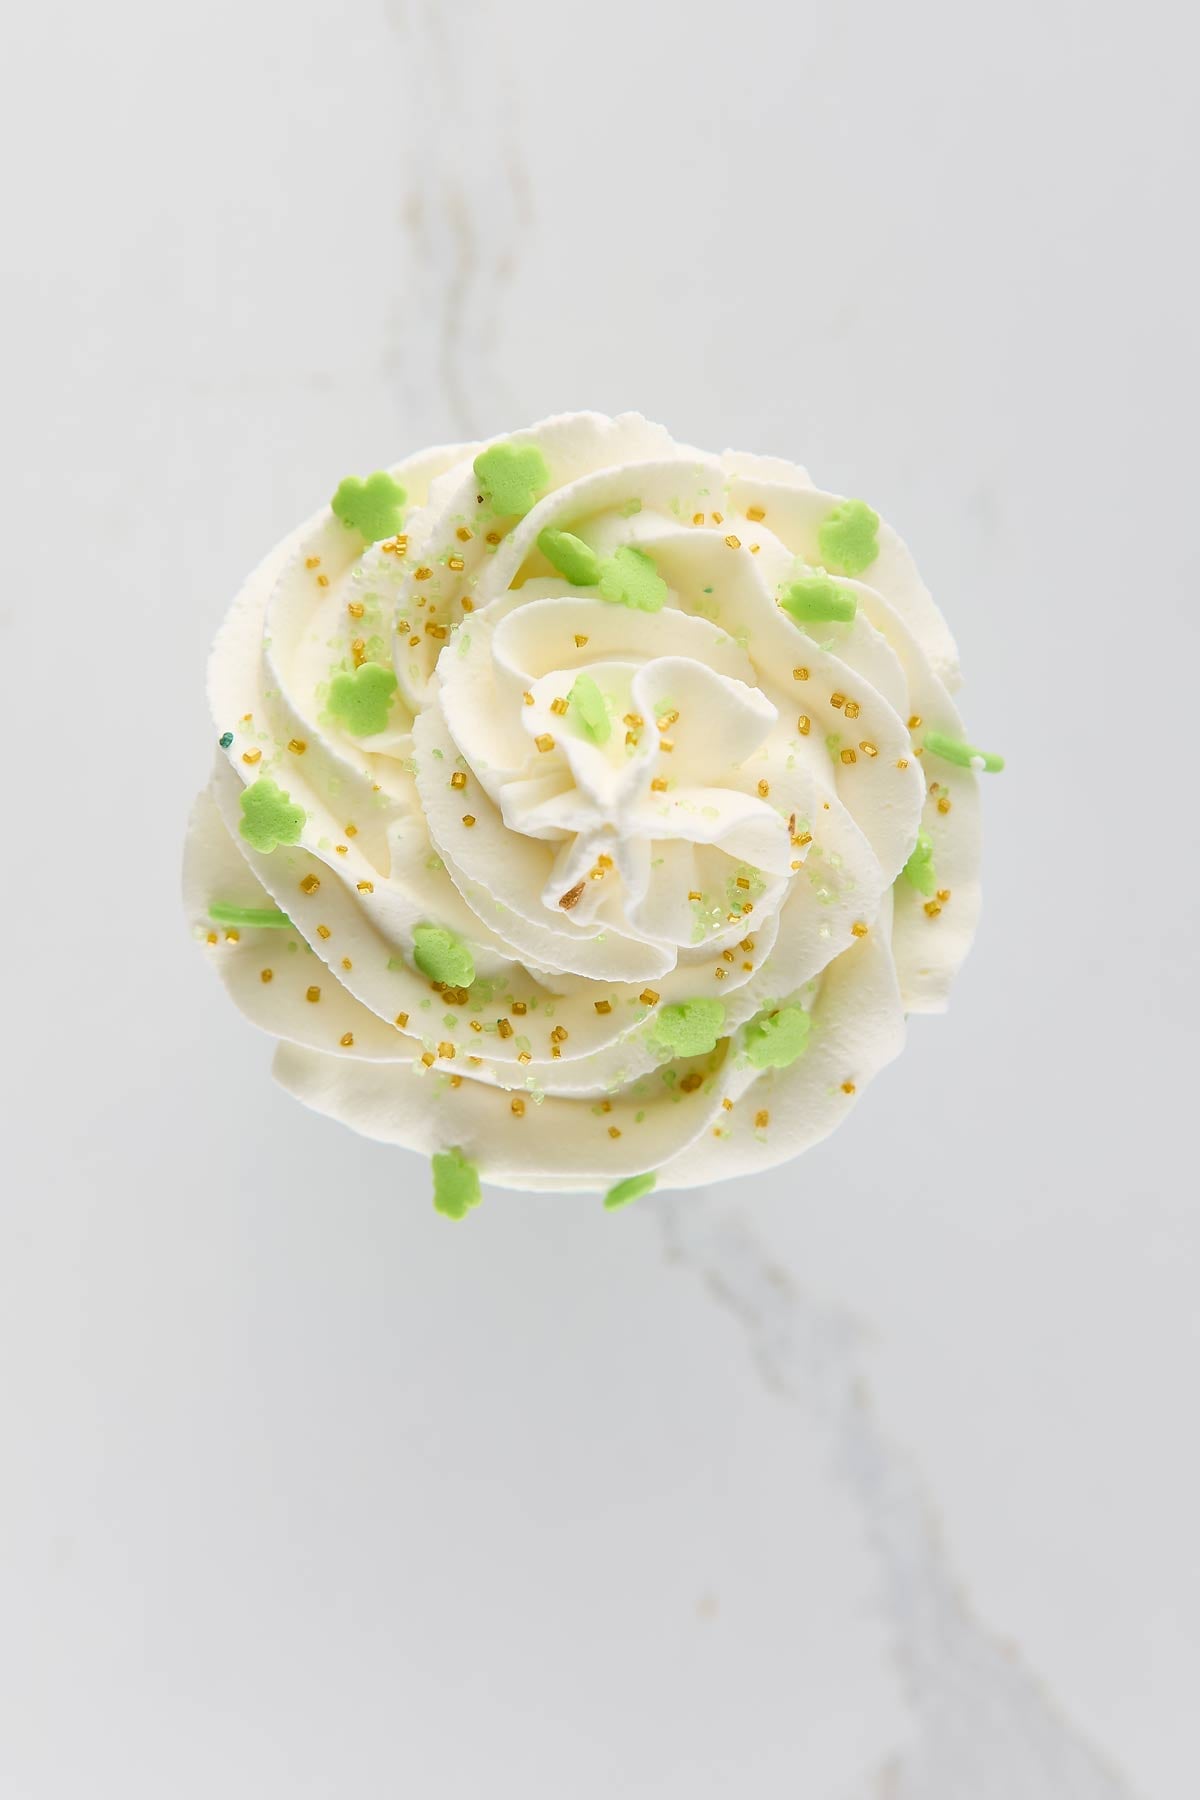
- Sprinkle on green shamrocks.
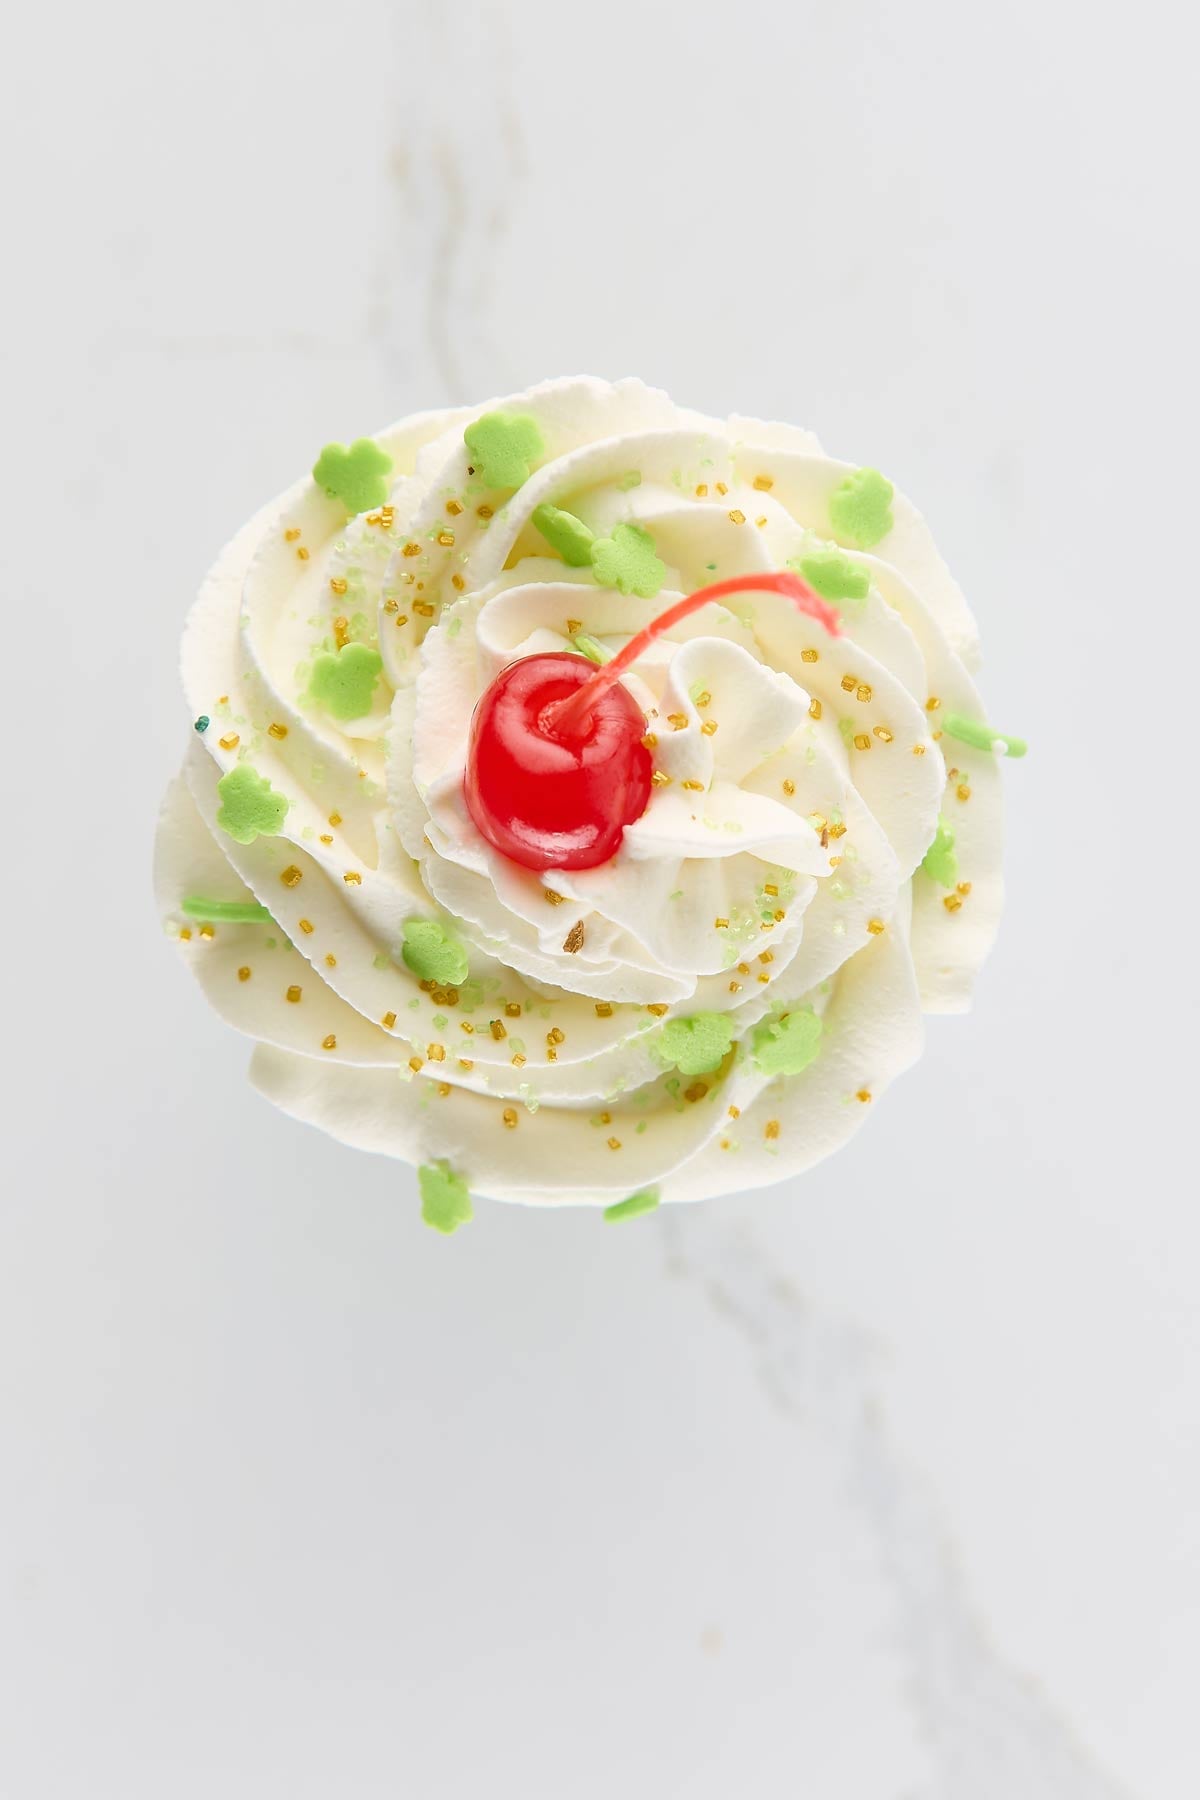
- Step 5: Top with a maraschino cherry (or two) :-).
- Step 6: Serve and enjoy from the comfort of home!
Equipment
Blender - you will need a blender to make the milkshakes. I use a large high-powered blender but it is not necessary. A regular blender will do or even a Bullet type blender will work if you make two batches.
Mixer - You will need a mixer if you plan to make homemade whipped cream. A stand mixer works best, but a hand mixer will get the job done. If you have the time, energy, muscles, you can actually whip the cream by hand.
Storage
Milkshakes are best enjoyed immediately but leftovers can be frozen, then reblended later. Not likely this will be needed though.
Top tip
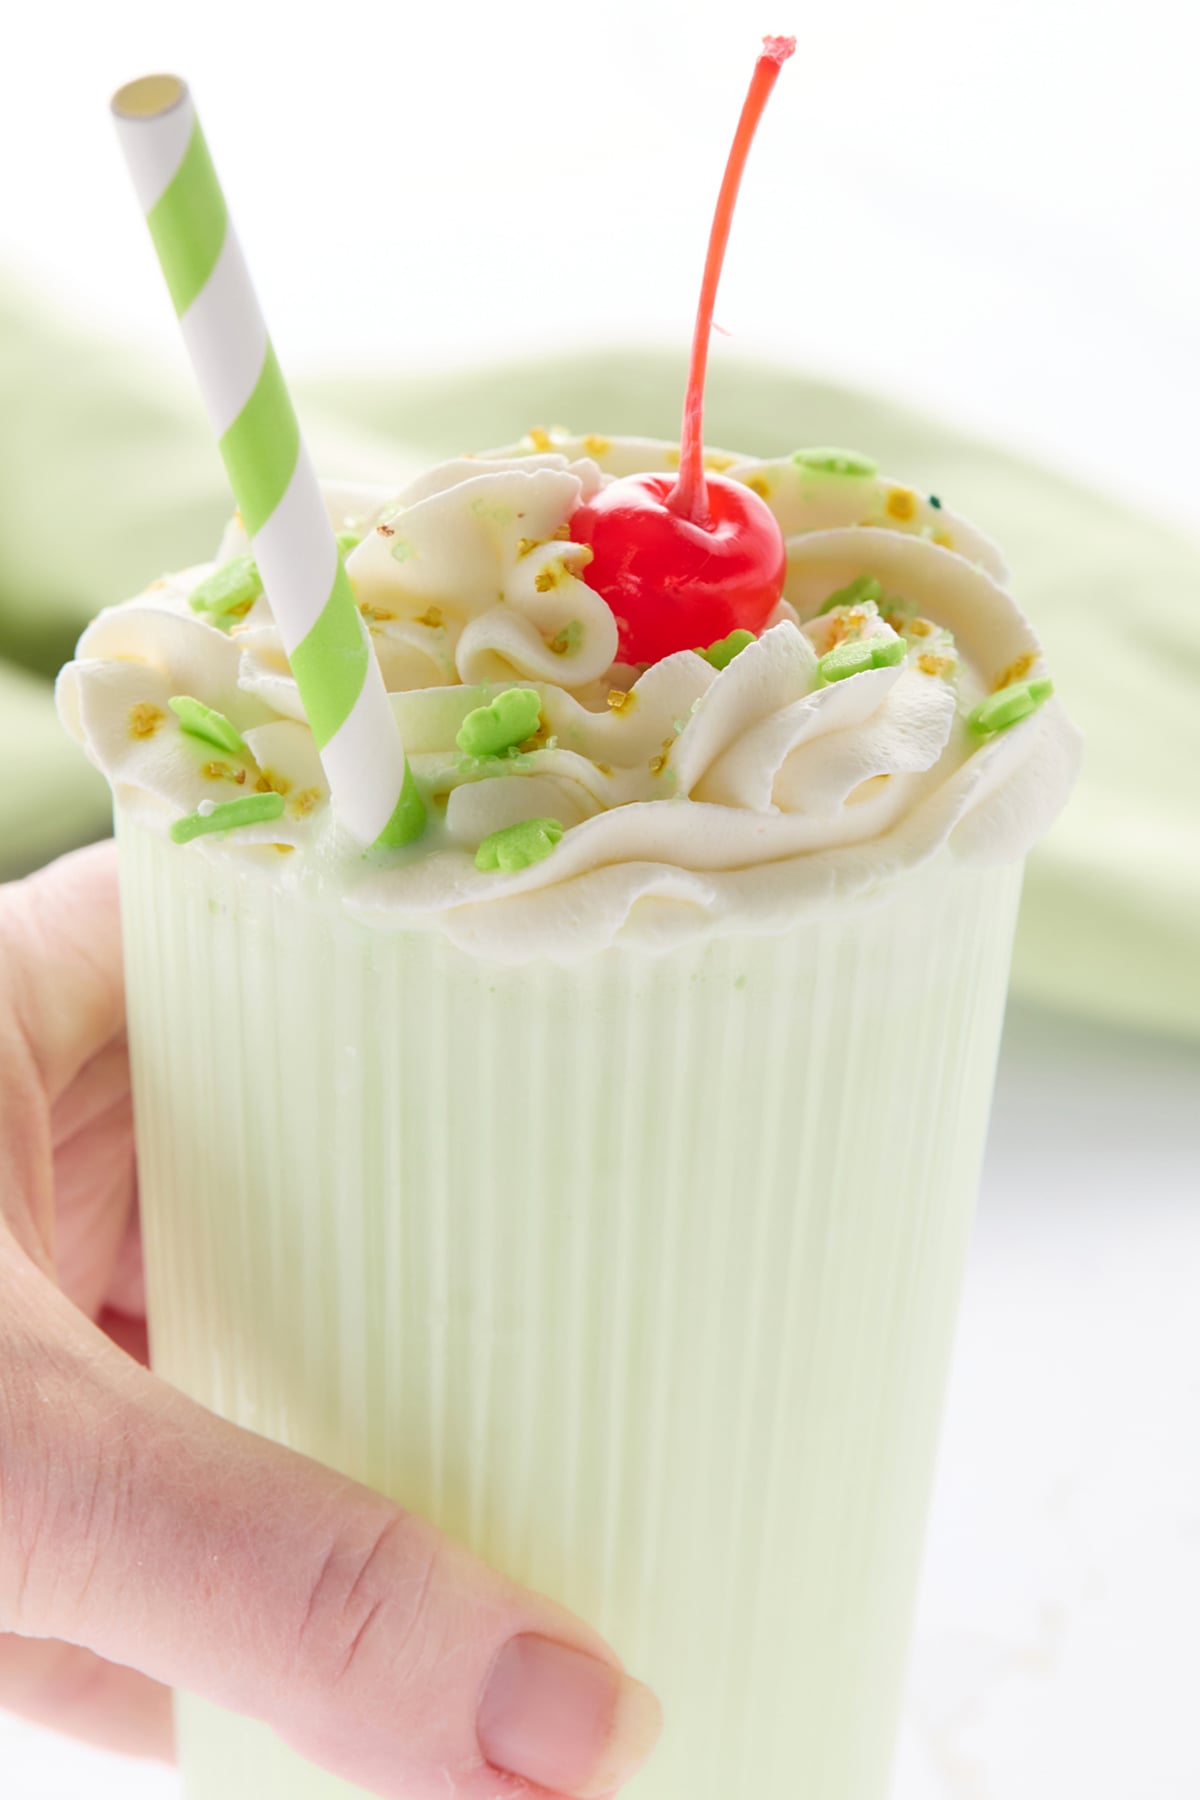
Freeeze the glasses the day before using! Make sure your glasses are freezer proof, many are not. We like milkshakes so much that I bought a set of freeze-proof glasses. Pouring the milkshake from the blender into a frosty cold glass amps up the enjoyment factor, as well as keeping the milkshake from melting too quickly. The link above is not an affiliate link. I just like the glasses and wanted to share. I have not been reimbursed in any way.

Equipment
- Mixer
- Blender
Ingredients
For homemade whipping cream:
- ⅓ cup heavy whipping cream
- ¼ teaspoon vanilla extract
- 2 tablespoons powdered sugar
For the milkshake:
- 2 ½ cups vanilla ice cream
- ⅔ cup whole milk
- ¼ teaspoon pure mint extract IMPORTANT
- 3-4 drops apple green food coloring (optional)
- 2 mint leaves (optional garnish)
- 2 maraschino cherries (optional garnish)
- 2 teaspoons sprinkles (optional garnish)
Instructions
For the homemade whipped cream:
- Pour the heavy whipping cream into the chilled bowl of a stand mixer. Beat until soft peaks form. Add ¼ teaspoon vanilla extract and 2 tablespoons powdered sugar. Beat until combined.
- Place the whipped cream into a piping bag with a star tip attached. You can also just cut ½" off the bottom of the piping bag. You can also use a zip top bag and just cut off one corner. Keep whipped cream refrigerated until ready to use.
For the milkshakes:
- Add the ice cream, milk, mint extract, and green food coloring to large, high-powered blender.
- Blend until the ice cream/milk mixture is smooth and the thickness is to your liking. If too thin add ice cream. If too thick add a splash of milk.
- Pour into glasses, preferably ice cold glasses. Leave a little room for whipped cream.
- Pipe on a nice mound of homemade whipped cream or whipped cream from a store-bought aerosol can.
- Add any garnishes you like; mint leaves, sprinkles, or a maraschino cherry. Serve and enjoy!
Notes
- If your glasses are freezer-proof place them in the freezer a couple of hours before using. It really helps to keep the shake from melting too fast.
- Not all mint extracts are created equal. You want Pure Mint extract for this recipe. Peppermint will work in a crunch but the taste will be more like candy cane.
- If you do not have a heavy duty blender, it is helpful to let the ice cream sit out on the counter for 10 minutes before scooping.
Nutrition
Here's to a long life and a merry one...Cheers!
Related
Looking for other recipes like this? Try these:


Comments
No Comments